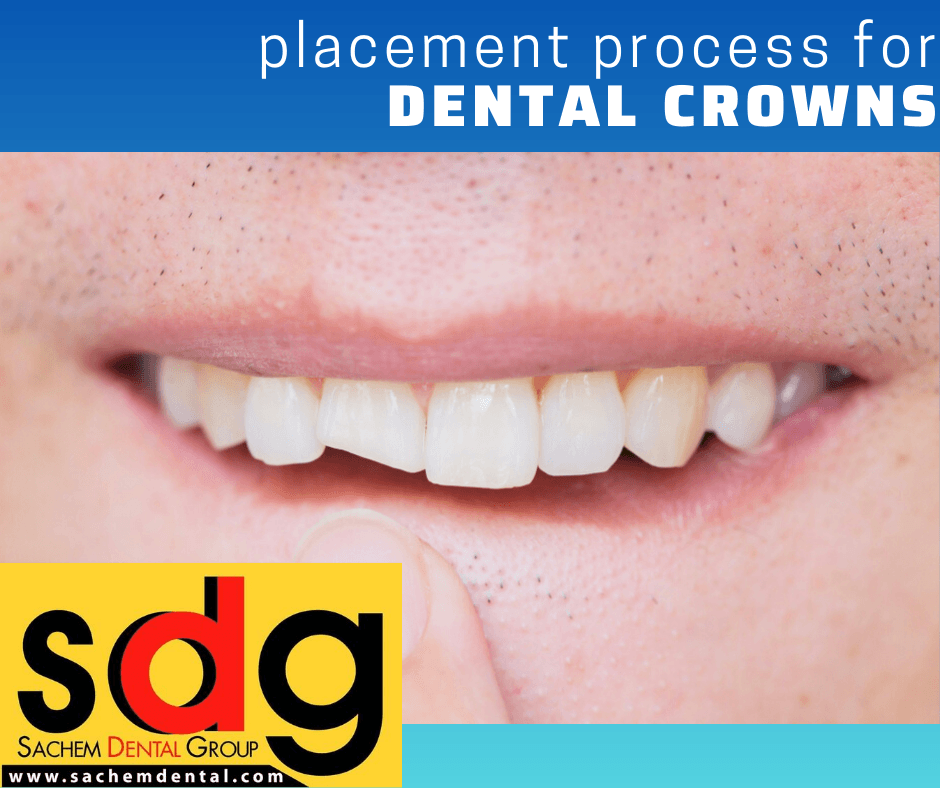
Getting a new dental crown is a detailed process that usually takes at least two appointments to complete. Unlike simpler restorations like dental fillings, a crown has to be prepped and placed during separate visits. Since it’s made off-site instead of inside your mouth, the placement process requires a couple of extra steps.
Fortunately, crown treatments are still a straightforward and comfortable process. Even though more time is required to design them, you can expect your actual treatment visit to feel similar to having other types of dental work completed.
Prepping Your Tooth
In order for a crown to fit properly, our Long Island dentists must first prepare or “prep” your tooth. The prep appointment is slated for about an hour. And like other types of restorative visits, we’ll want to thoroughly numb that specific part of your mouth to eliminate any unwanted sensitivity.
Once your tooth is anesthetized, the preparation process starts. This stage involves reshaping the enamel so that there’s room for a crown (or “cap” as some people call them) to fit over it without feeling bulky. Any damaged tooth structures or decaying areas will also be removed and cleaned away. Sometimes there may not be enough healthy, stable tooth structure to support a crown. When that’s the case, we might also recommend an added step such as a post or build-up, adding extra support for the final crown once it’s placed.
Taking a High-Quality Impression
Now comes perhaps the most important part of the crown design process: the impression. Our office uses high-quality dental materials that allow for an extremely accurate mold of your prepped tooth. Since fractions of a millimeter and something as tiny as a small bubble can affect the final fit of your new crown, this step in the crown placement must be done very carefully.
A special tray is used to hold the impression material, then set down over your prepped tooth. We’ll also want to capture an impression of the adjacent and opposing teeth, since it’s important that all of them fit together properly. Without considering the shape of your other teeth, the new crown won’t bite or chew against them safely, and it could actually damage your smile.
After the impression material is completely set, we’ll gently remove the tray from your mouth and transfer it to our onsite lab. Depending on the situation, we will sometimes pour a model of your impression for 3D record purposes. The impression will be processed and sent directly to our ceramist’s lab, so that the permanent crown can be crafted by hand (a process that usually requires about a two-week turnaround.)
Placing a Temporary Crown
Since your tooth has been prepped and reshaped for a crown to fit over it, going home without any type of cover would result in sensitivity. In the meantime, our Long Island dentists will fit a temporary crown over your tooth. With a temporary you’ll need to be a little careful with eating and flossing, but otherwise you can go about your normal activities. Since temporaries are interim restorations and not designed in a lab, you can expect it to feel a little different than the rest of the teeth in your mouth. It’s not meant to last long term, as we’ll be replacing it with the permanent version within a couple of weeks.
Trying in Your Permanent Crown
Once your permanent crown is completely designed and returned to our office, we’ll schedule a day for you to come in and have it tried in. Your temporary crown will be removed and any of the residual bonding materials cleaned off your tooth. Then the permanent crown is set on top of your tooth to make sure everything fits and lines up properly. If it does, we’ll move on to…
Bonding the New “Cap” in Place
Here’s where your crown is permanently bonded into place over your prepped tooth. Our Suffolk County dentists use a special type of bonding agent known as a dental cement. In some cases, a desensitizing agent is also placed over your tooth before the crown is cemented.
The cement itself is placed directly inside of the crown, then set over your tooth. Gentle pressure is applied to “seat” the crown down at the desired level. We’ll have you rest your mouth for several minutes as the bonding agent cures into place.
Checking Your Bite
Now that the permanent crown is officially bonded in place, we’ll need to check how it lines up with all of your surrounding teeth. More than likely we’ll have you bite down on a small amount of articulating paper, which leaves temporary blue marks on the tooth surfaces that contact one another. That way we can see if there are any parts of the crown or adjacent teeth that are hitting each other harder than they’re supposed to.
If there are heavy-hitting areas, we’ll gently adjust your crown by fractions of a millimeter so that the contact points fit together properly. Otherwise, it could lead to premature tooth wear, headaches, or tooth pain.
Once we’ve made sure that everything fits properly and you have an even, consistent bite, you’ll be able to go on your way!
Long-Term Care and Maintenance
The key to getting the most out of your new crown as possible is all in your home care. Daily flossing and brushing along the margins of the “cap” are crucial to prevent bacteria from attacking the contact between your crown and tooth. No, proper flossing will not pull your crown off, and it’s essential that you floss each day to keep the bond strong.
Our patients who have a history of grinding their teeth may also want to invest in a nightguard. That way the excess tension won’t accidentally cause fractures in your porcelain crown.
For more information on our crown design process and how to keep your new “cap” clean, schedule an appointment with our Suffolk County multi-specialty general dentistry team.
